 |
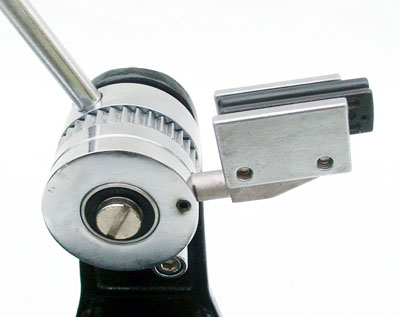
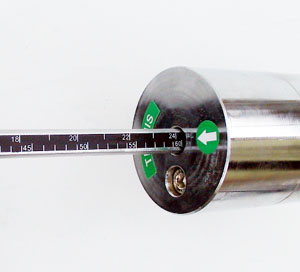
1. | Set the desired tension by adjusting the tension weight on the tension arm. Make sure the arrow mark on the tension weight faces down as shown and points to the desired tension scale. |
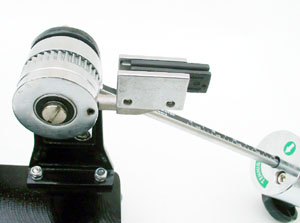 |
2. | Use the right hand to lower the tension rod clockwise and let it all the way down. Use the left hand to turn the string gripper clockwise to the position as shown. |
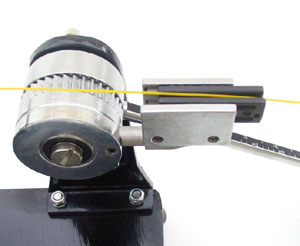 |
3. | Place string into the string gripper. |
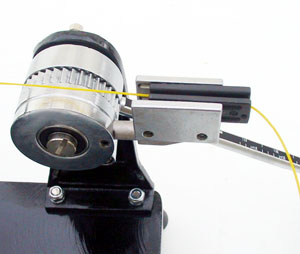 |
4. | With the left hand, hold the string at about a right angle to the string gripper. |
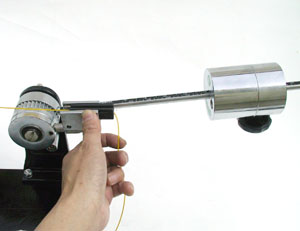 |
5. | While the left hand to hold the string gripper and use the right hand to slightly move the tension rod counterclockwise. |
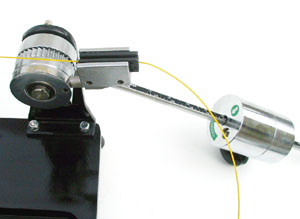 |
6. | Use the right hand to slowly lower the tension rod clockwise, and to support it all the way down. |
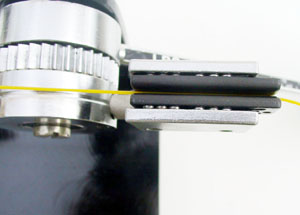 |
7. | The linear ball bearing string gripper will grip the string while the tension weight pulls the string. After the string gripper grips the string, the left hand could release the string. |
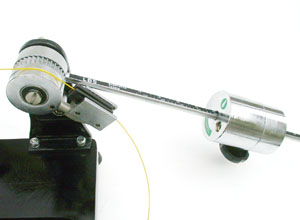 |
8. | If the tension rod is below the horizontal level, it means that the tension is too low. |
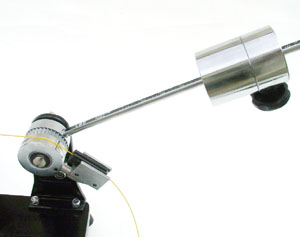 |
9. | While the left hand to hold the string gripper and use the right hand to slightly move the tension rod counterclockwise. |
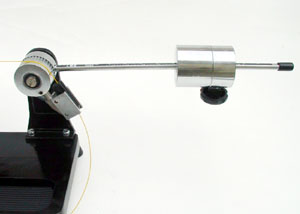 |
10. | Then let the tension rod and the tension weight fall by themselves until the tension rod and the tension weight are parallel to the horizontal surface at about + or - 3 degrees.
Repeat this process again to reach the horizontal position. This means that the correct tension is reached. |
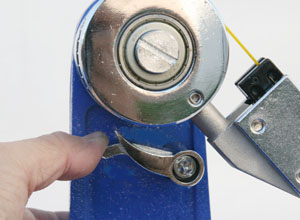 |
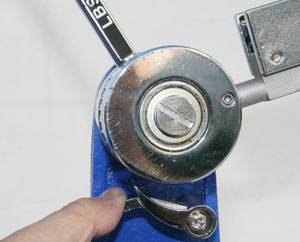
11. | To release the ratchet device, use the left hand to push down the drum latch. |
 |
12. | Use the right hand to return the tension rod to the upright position and remove the string out of the string gripper. |
